Pedal colorful "Xiang" cloud? See clearly, that is the charger!
——This article is selected from the electronic enthusiast website February "Power Technology Special Issue"
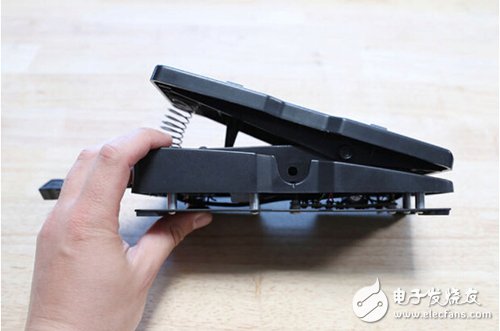
I believe that many of my friends have the habit of shaking their legs. This is not very elegant in people's eyes, but everything will have two sides. If you can make full use of the kinetic energy generated when you shake your legs, let it be converted into electricity to charge our mobile phones and other equipment. That can not do the so-called use of the best. To this end, I made this device specifically, using our involuntary legs to convert it into useful energy, using this device to provide safe, clean energy for all USB devices in our lives.
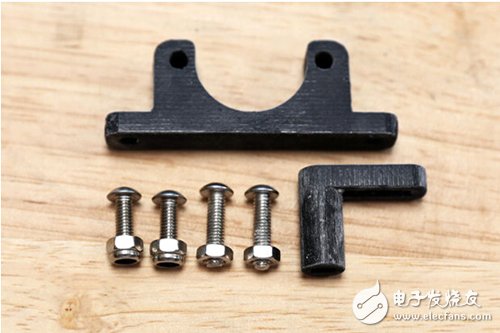
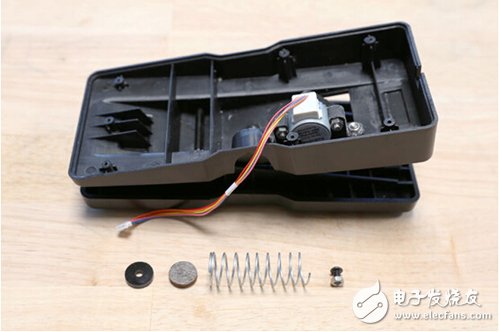
1, preparation materials
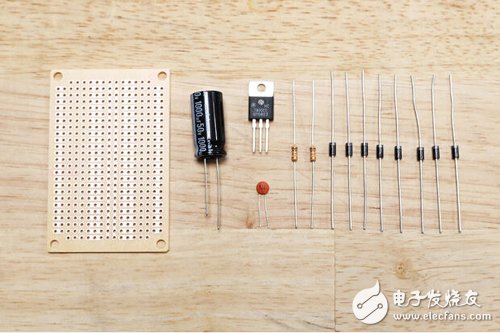

The materials are as follows:

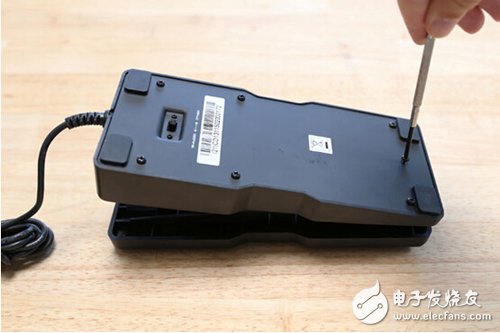
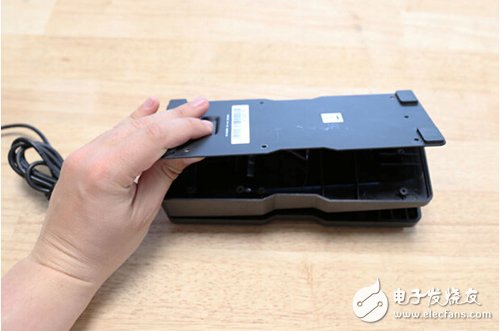
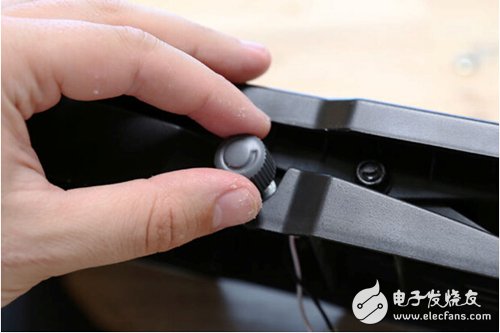
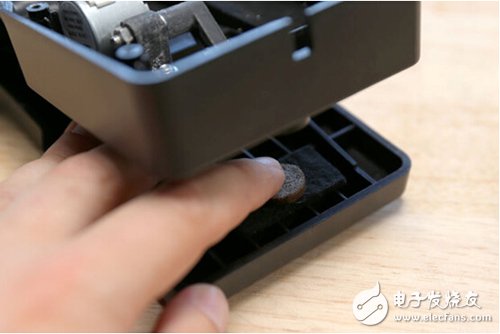
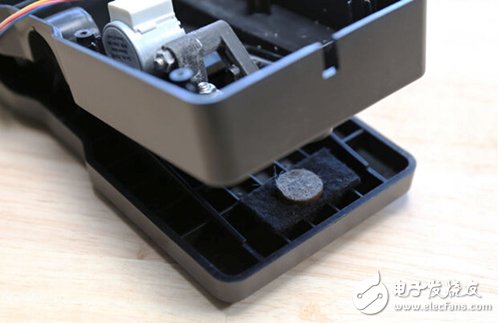
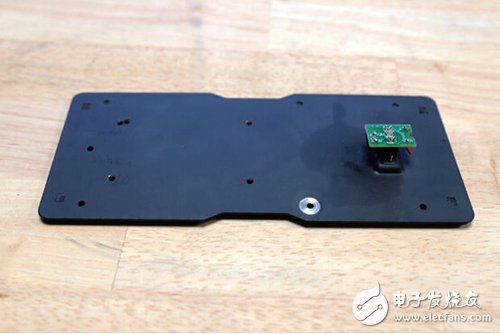
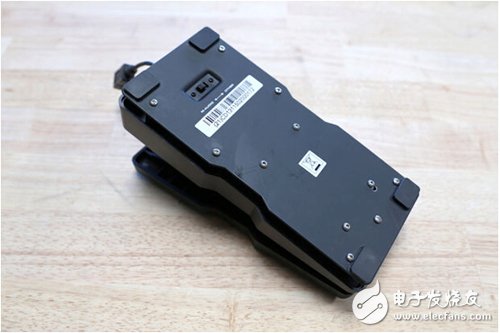
2, open the pedal
Remove the bottom screw of the pedal and open the pedal.
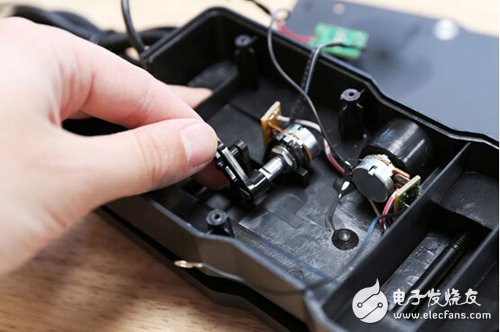
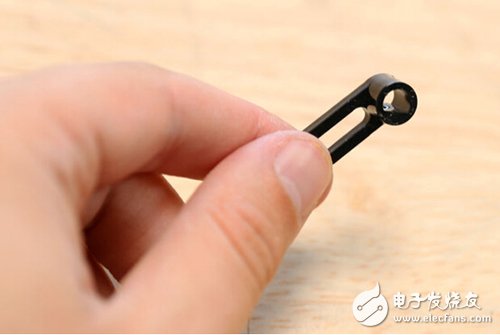
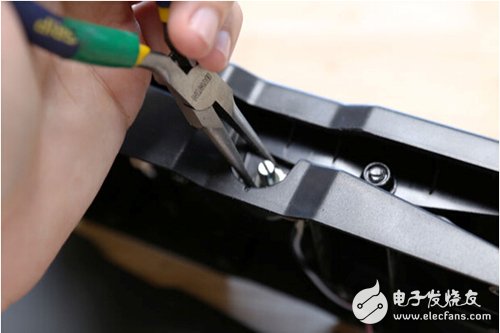
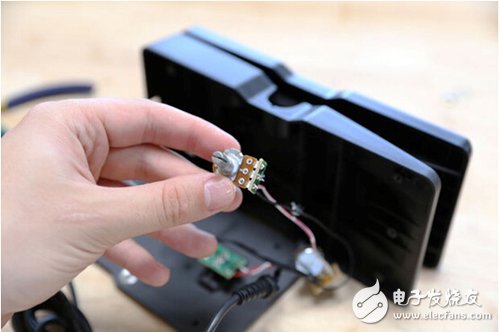
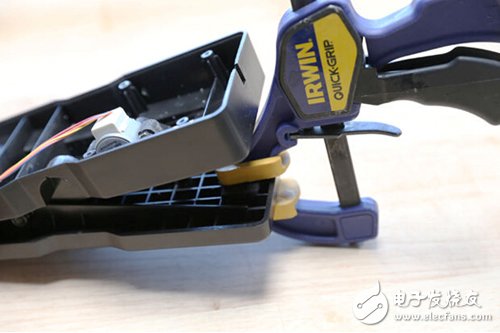
3, remove the drawbar
Remove the lever arm on the potentiometer shaft inside the pedal.
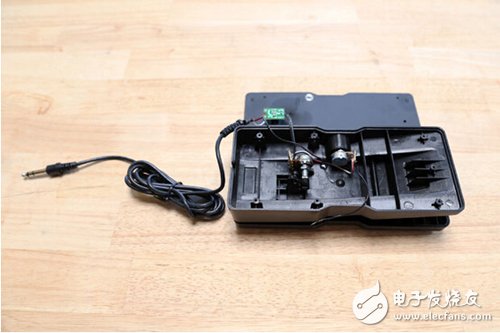
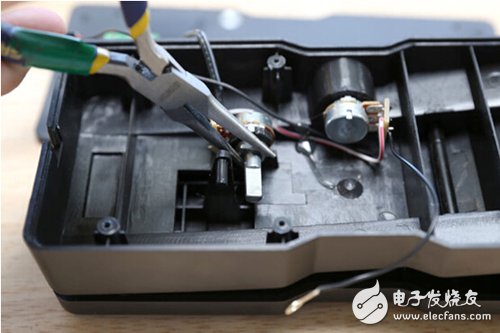
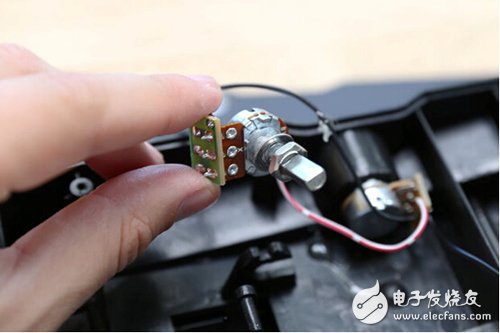
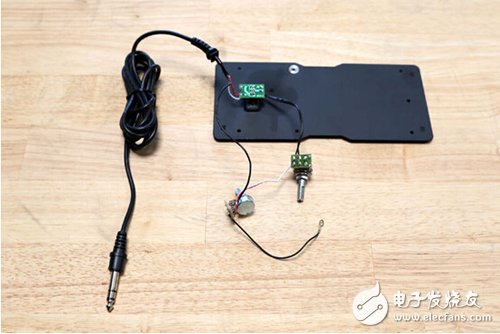
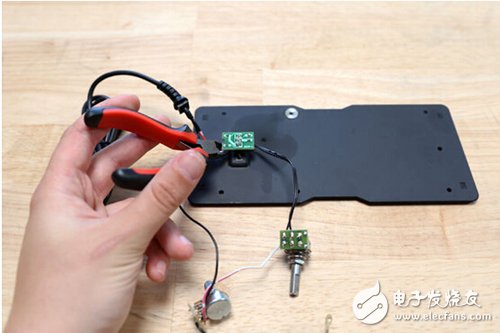
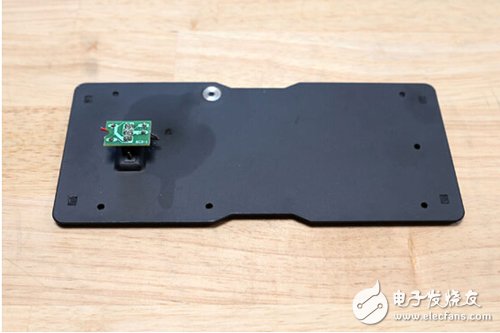
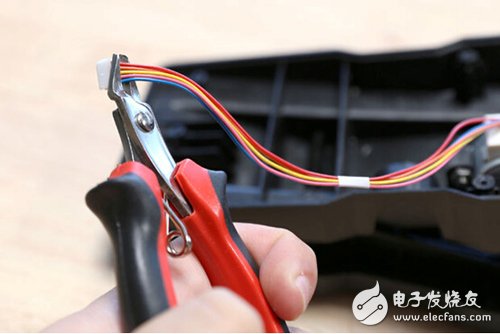
4, remove all circuits
Remove the potentiometer from the pedal and cut off all circuit components.
5, 3D printing
The 3D printer printed the motor mounting bracket and lever arm in a 3D model.
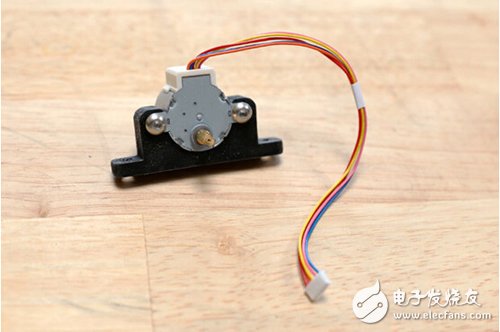
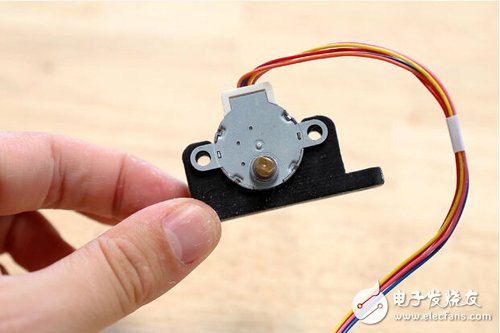
6, fixed motor
The motor is attached to the motor bracket using 12 mm nuts and bolts.

---------------------------
More power technology hot text can pay attention to the latest issue of the "Power Technology Special Issue" released by the electronic enthusiast network .
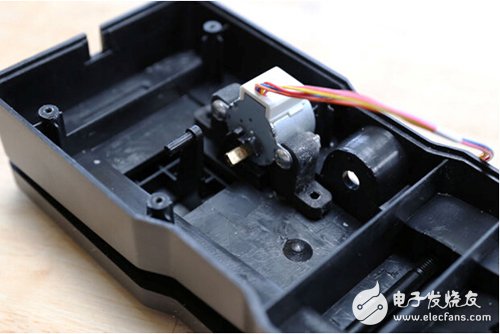
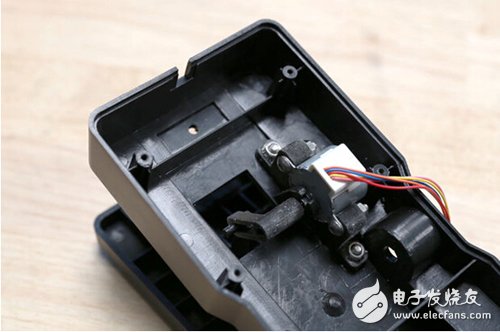
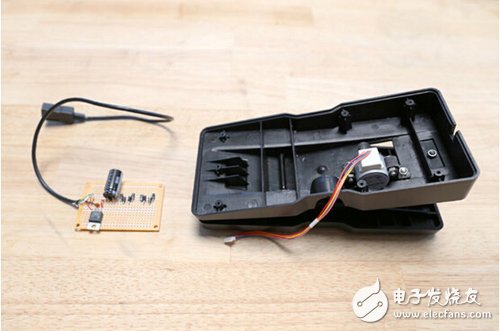
7, install the motor
Install the motor inside the pedal before the potentiometer and lever arm are installed.
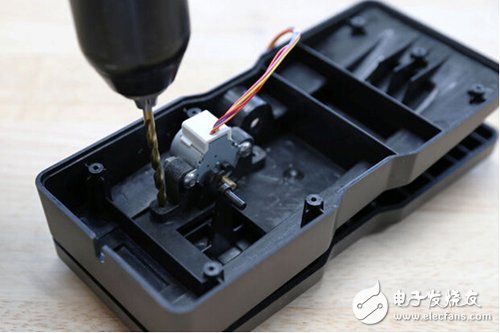
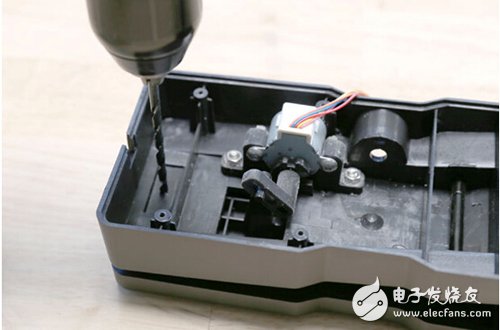
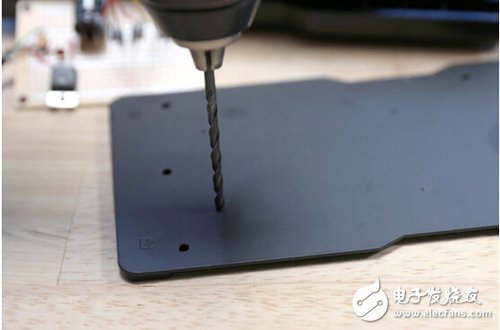
8, drilling
Drill two 3/16 holes in the pedal according to the mounting holes of the bracket, but be careful not to drill into the footpad.
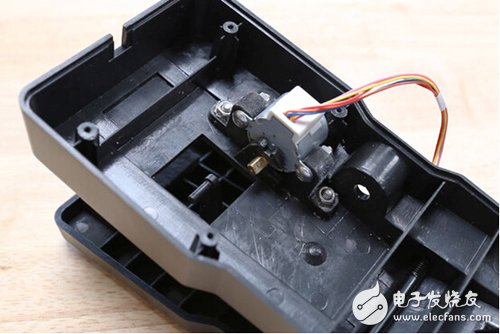
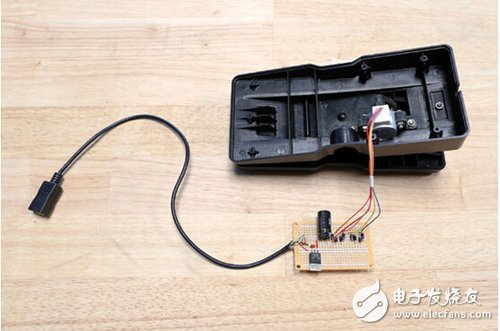
9, installation
Use a 12mm nut and bolt to secure the motor to the pedal.
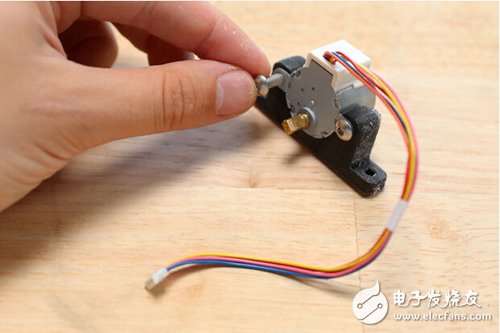
10, connecting rod
Place the lever arm on the motor shaft.

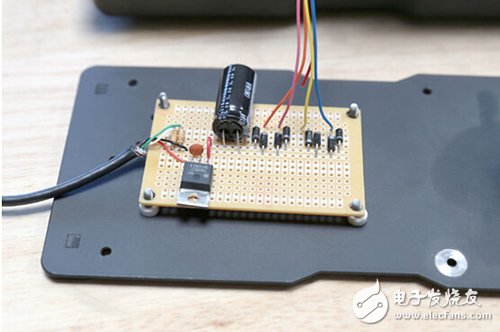
11, the power circuit
Building a power conditioning circuit according to the circuit diagram
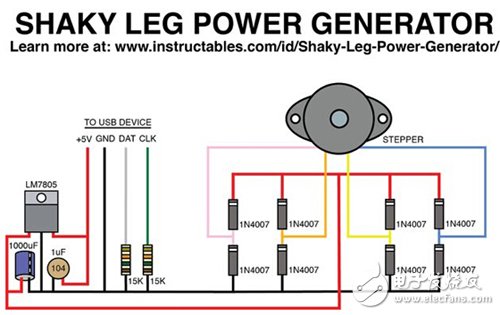
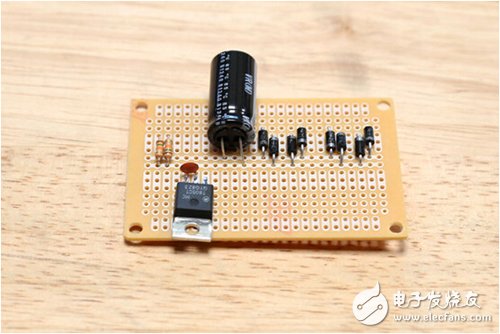
This circuit has two bridge rectifiers, one of which is connected to the coil of the motor. A 1000 UF capacitor is used to store and filter the generated electrical energy to generate a smooth electrical signal. It is then converted to a stable 5V voltage by the LM7805. The 10uF and 0.1uF capacitors are used to further filter the electrical signal.
The two resistors are designed to pull down the digital and clock lines when charging with a USB 2.0 device. Without these, your device may not be able to charge.
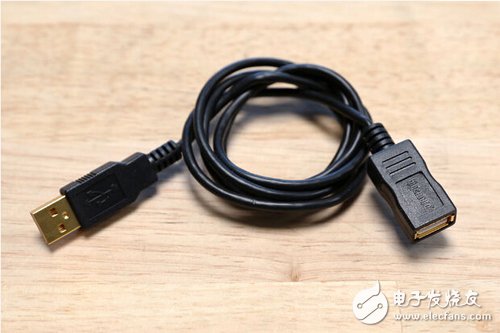
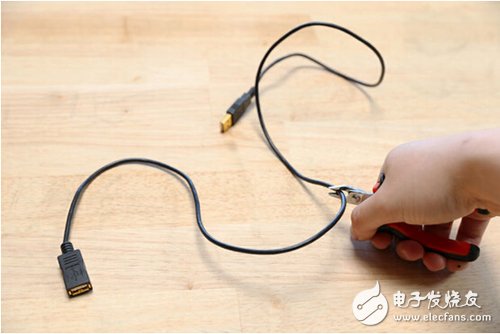
12, cut off the electrical cable
Cut the USB cable in half and peel off the four wires.
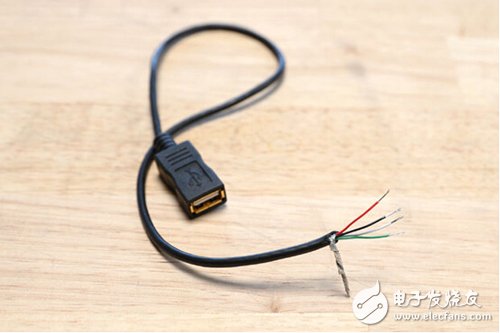
13, connect the USB cable
Connect the USB cable to the board according to the circuit diagram.

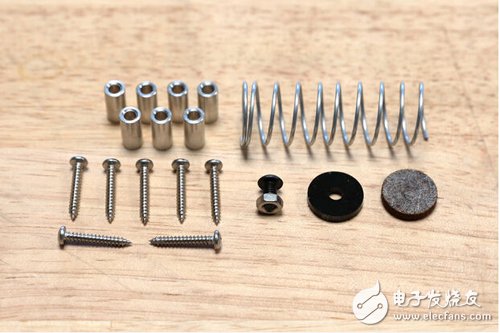
14, install the spring
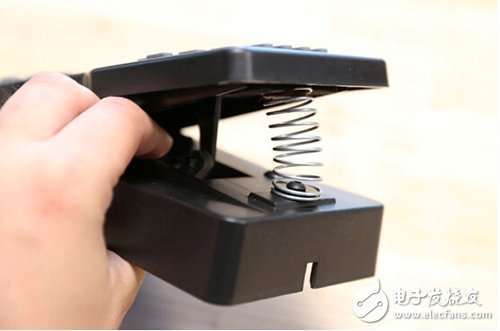

Drill a 3 / 16" hole in the center of the plastic connecting plate. The top of the 8 mm nut and bolt is a disc pad. The plastic plate has a disc pad on the front and back. Once the glue dries, the spring is fixed in the circle. On the plate, used to connect two pedals.
15, connect the motor
Weld the motor wires according to the circuit schematic.
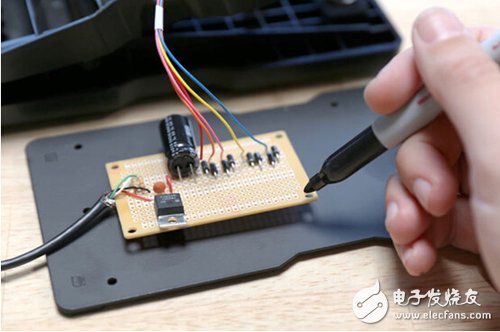
16, pedal drilling
Place the board on the bottom plate of the pedal, mark each mounting hole, and drill with a 1/8'' drill.
17, fixed circuit board
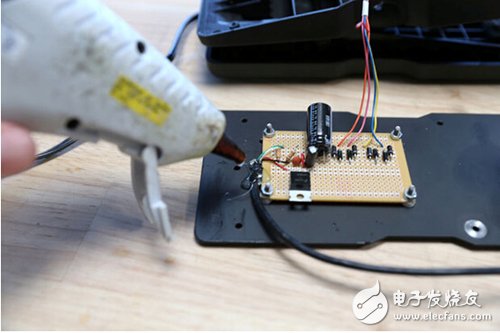
Use a 1/4" spacer and M3 x 12 mm nuts and bolts to mount the board on the backplane, then use a hot glue gun to secure the USB cable attached to the board to the backplane to prevent the wires from breaking.
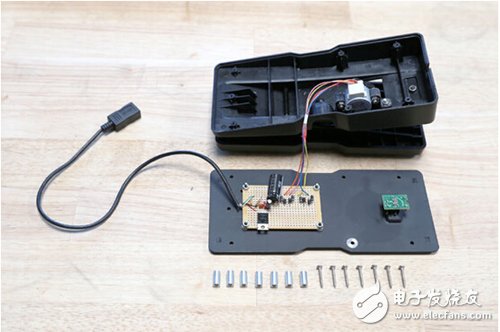
18, assembly
Use 1/2'' metal washers and 3/4'' screws for assembly and fixing.

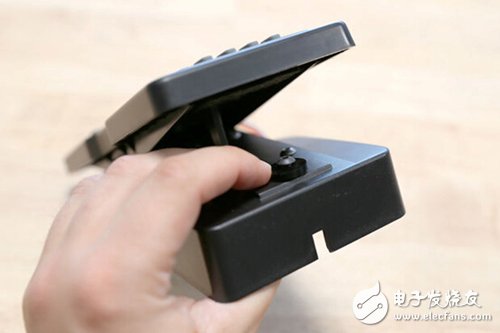
19, use
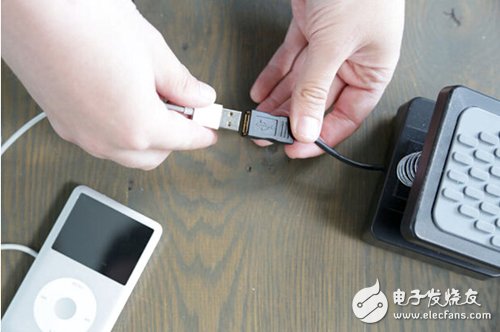
Plug in the device and start charging. Don't expect this device to be fully charged quickly. This is a slow and accumulating charging process.
---------------------------
More power technology hot text can pay attention to the latest issue of the "Power Technology Special Issue" released by the electronic enthusiast network .
24vac Outdoor Power Supply
24vac outdoor power supply,
output voltage 24VAC,output current 3A,5A, large space, convenient installation, All products are 4 times aging test , glass fiber board, the circuit design, ensure the stability of persistent. Product appearance and packaging have "STEADY " logo.
Features:
Fixation:The Gourd type
Space Large,convenient installation
Laser Printing OEM Logo
Glass fiber board, big transformer, 3A ,5A enough power.
Fully Surface design style housing, suitable for wet, dry, damp locations
4 times aging test
Comply with IP65 standard
Protection: short-circuit,over-load,over-voltage ,over current ,
over-temperature protection
3 years warranty
Product application:
Application to CCTV cameras, indoor and outdoor cameras, monitoring equipment power supply, alarm system etc
24V AC Outdoor Power Supply,Outdoor Power Supply Box,Outdoor Power Supply Battery,Outdoor Power Supply Kit
Guangdong Steady Technology Co.LTD , https://www.steadysmps.com